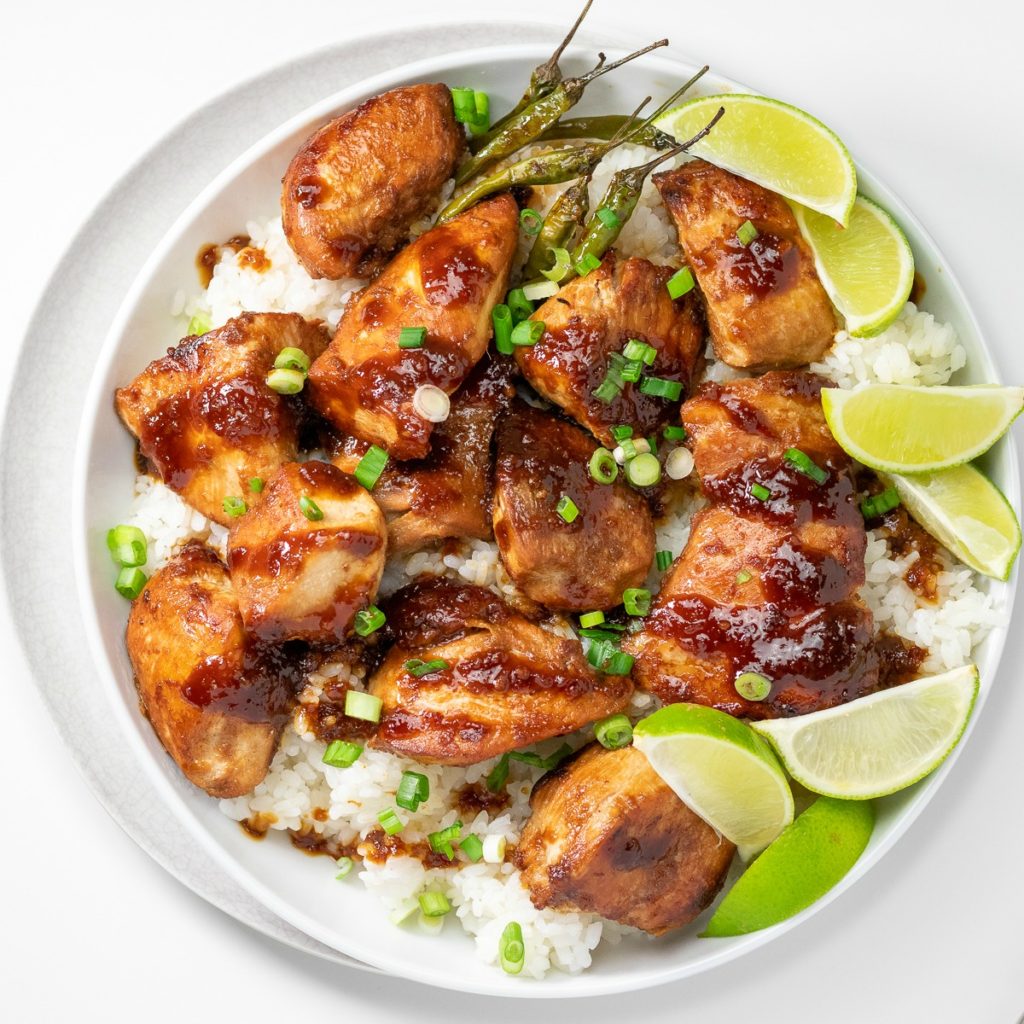
Soy-Miso Chicken over Sticky Rice
This recipe is a weeknight gem if you remember to prep the marinade (which doubles as a glaze) in the morning. Like most asian dishes, it comes together quickly and the flavor is big, bold, and bright. It’s great with a side of broccolini or steamed edamame.
An easy soy-miso sauce doubles as a marinade and glaze in this classic asian-style chicken.
- 1/2 c. soy sauce
- 1/3 c. unseasoned rice vinegar
- 2 tbsp. white miso (see TIP A below)
- 2 tbsp. light brown sugar, firmly packed
- 1 tbsp. pure honey
- 1.5-2 in. piece fresh peeled ginger, grated (about 2 heaping teaspoons)
- 2 large or 3 small garlic cloves, grated
- 1 tbsp. canola or vegetable oil
- 1.5-2 lbs. boneless, skinless chicken breasts or thighs (cut breasts into thirds or quarters of roughly equal size, see TIP B below)
- 1/3 c. low-sodium chicken broth or stock
- 8-10 red or green Thai chiles (optional)
- 1 lime, cut into wedges (optional, for serving)
- chopped scallions or torn cilantro (optional, for serving)
- 2 c. sushi rice, partially rinsed (see TIP C below)
- 2 c. water
- 2 tbsp. unseasoned rice vinegar
- 2 tsp. granulated sugar
- 2 tsp. kosher salt
-
Combine all of the Soy-Miso Marinade/Glaze ingredients in a small bowl and whisk until fully incorporated. Transfer roughly half to a ziplock bag with the chicken and reserve the remainder in the fridge in a separate container.
-
Securely close the ziplock bag with the chicken and marinade and rest it flat on a dinner plate in the fridge for at least 6 hours (or up to 12 hours). If you have time (and remember), flip the bag 1-2 times while marinating to ensure that the chicken pieces get equal coverage.
-
Roughly 40-50 minutes before you plan to eat, remove the ziplock bag of marinating chicken from the fridge. Let sit at room temperature for 20-30 minutes to eliminate the chill. Meanwhile, partially rinse the sushi rice as indicated in TIP C.
-
Put the partially rinsed sushi rice and 2 cups water in a medium saucepan with a tight-fitting lid. Set over high heat until the water boils and then immediately reduce heat to low and keep covered for 15 minutes. After 15 minutes, turn off the heat beneath the pot completely and let it sit covered for at least another 10 minutes. Resist the urge to lift the lid at any point during this process. Meanwhile, put the remaining Sticky Rice ingredients (unseasoned rice vinegar, sugar, and salt) in a small microwave-safe bowl and heat in the microwave for 20 seconds. Stir and let sit at room temperature until the sugar and salt mostly dissolve into the warm vinegar.
-
Preheat your oven to 375° and warm the tablespoon of canola or vegetable oil over medium-low heat (on the stovetop) in a large, heavy oven-proof skillet or braiser. Transfer the chicken from the ziplock bag to the warm oil and listen for it sizzle (Important: reserve the marinade!). Start with the thickest pieces of chicken first and arrange them in a single layer preferably presentation-side down. Let the chicken cook on one side for 4-6 minutes or until lightly browned on the bottom. Then flip the chicken pieces and add the residual marinade from the bag, chicken broth and Thai chiles to the pan (slide them in between the chicken pieces). Immediately transfer the pan to the oven for the chicken to finish cooking (about 15 minutes).
-
As the chicken and rice are finishing cooking, pour the reserved Soy-Miso sauce from the fridge into a small saucepan and bring it to a gentle boil over medium heat. Let bubble while stirring constantly for about 30 seconds. Then reduce heat to low and let the sauce thicken over the course of about 5-7 minutes (check and stir it often so that it does not burn or become too thick). Once it becomes glaze-like in consistency, immediately remove the pan from the heat.
-
Meanwhile, pour the dissolved sugar-salt-vinegar mixture over the steamed sushi rice. Gently fluff it with a fork (it should become sticky) and re-cover until ready to serve. When the chicken is done, arrange the pieces over the Sticky Rice in a low, flat bowl. Put the Thai chiles and some fresh lime wedges alongside. Pour the prepared glaze over top and/or serve on the side.
TIP A: Miso paste comes in many different varieties, but white is the most common and also the most mild and sweet. It adds wonderful depth to dips, sauces, and marinades. And—bonus!—it keeps forever in your fridge if securely closed.
TIP B: I like to use a combination of cut chicken breasts and thighs for this recipe because the added fat and juiciness from the thighs helps to keep the breast meat tender. If you go this route, just be sure to cut the chicken breasts down to roughly the size of the thighs (usually in thirds or quarters). I also recommend giving the breast meat a brief head-start in the pan since they tend to be a bit thicker.
TIP C: "Partially rinsed" means that you've let water run through the rice until it turns from cloudy to foggy, but not all the way to clear (as often recommended for rice). Partial rinsing helps to achieve the perfect sticky rice. Typically I put the rice in a fine mesh sieve and let cold water run through it for about 10 seconds. Err on the side of over-rinsed vs. under-rinsed if you're concerned.
22 Japanese Chicken Recipes That You Want To Make In 2022 · May 06, 2022
[…] 13. Miso Chicken […]